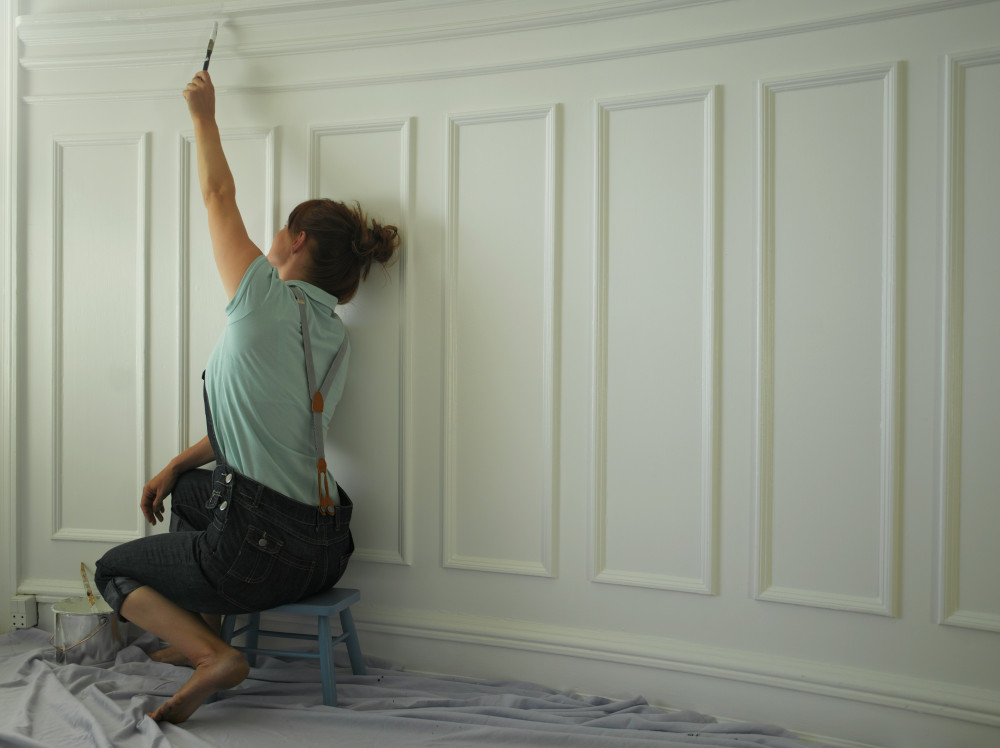
Preparation Before Painting: How to Use a Damp Brush and Paintbrushes Correctly

Preparation Before Painting: How to Use a Damp Brush and Paintbrushes Correctly
A great paint job starts long before the first stroke hits the wall. Preparation – especially how you handle your brushes – plays a crucial role in achieving a smooth, durable finish. Many DIY painters overlook the importance of dampening the brush properly or choosing the right type of brush for the task. Here’s a practical guide for New Zealand homeowners and renovators on how to prepare your brushes and surfaces for a professional-looking result.
Why Dampen the Brush Before Painting?
Dampening your brush isn’t about soaking it; it’s about conditioning the bristles so they work better with the paint. A slightly damp brush:
- Prevents paint from drying too quickly in the bristles, especially in warm or dry conditions.
- Helps spread paint more evenly across the surface.
- Makes cleaning easier afterwards, as paint doesn’t stick as firmly to the bristles.
For water-based paints (commonly used in New Zealand homes), dampen the brush with clean water. For oil-based paints, use a small amount of mineral turpentine or the appropriate solvent. Dip the brush lightly, then blot off any excess moisture on a paper towel – the brush should be damp, not dripping.
Choosing the Right Brush for the Job
Different brushes suit different surfaces and paint types. Selecting the right one can make all the difference.
- Flat brushes are ideal for doors, trims, and edges where precision matters.
- Round brushes work well for detailed or textured surfaces.
- Angled brushes make it easier to cut in along ceilings, corners, and window frames.
- Wide brushes are best for large, flat areas like walls or fences.
For water-based paints, choose brushes with synthetic bristles – they hold their shape and don’t absorb water. For oil-based paints, natural bristles can give a smoother finish.
Læs også:


Step-by-Step: Preparing Your Brush
- Remove loose bristles – run your hand through the brush to catch any that might fall out.
- Dampen the brush lightly – as described above.
- Dip only one-third of the bristles into the paint – this gives better control and reduces drips.
- Tap gently on the side of the tin – avoid scraping the brush, which removes too much paint.
- Apply with smooth, even strokes – follow the grain or texture of the surface for the best result.
If you’re taking a short break, wrap the brush in plastic wrap or place it in an airtight bag to prevent it from drying out.
Cleaning and Storing Your Brushes
A quality brush can last for years if you care for it properly. After painting:
- For water-based paints: Rinse thoroughly in warm water until the water runs clear.
- For oil-based paints: Clean with mineral turpentine or brush cleaner, then rinse in clean water.
Reshape the bristles while they’re still damp and hang the brush to dry with the bristles facing down. Once dry, store it in its original packaging or wrap it in paper to help maintain its shape.
Common Mistakes to Avoid
Even small preparation errors can show up clearly in the final finish. Here are some pitfalls to watch out for:
- Using a dry brush: Leads to streaks and uneven coverage.
- Overloading the brush: Causes drips and patchy results.
- Skipping cleaning: Makes the brush stiff and unusable next time.
- Choosing the wrong brush type: Can leave a rough or inconsistent texture, especially on smooth surfaces.
Taking a few extra minutes to prepare your brush properly will save you time and frustration later.
A Great Finish Starts with Preparation
Many people focus on choosing the perfect colour, but the real secret to a professional finish lies in the preparation. A damp, well-chosen brush and a clean, dry surface are the foundation of a lasting, beautiful result.
So before you start your next painting project – whether it’s refreshing a bach, a villa, or a new build – take the time to dampen, prepare, and care for your brushes. The effort will pay off in both the look and longevity of your paintwork.
Læs også: