Wet areas need special floor treatment – here’s how to do it step by step

Wet areas need special floor treatment – here’s how to do it step by step
Wet areas such as bathrooms, laundries, and entryways face constant exposure to moisture, steam, and temperature changes. In New Zealand’s humid climate, especially in coastal and high-rainfall regions, this can quickly lead to mould, staining, or even structural damage if the floor isn’t properly protected. A well-planned floor treatment not only keeps your space looking great but also ensures it stays safe and durable for years. Here’s a step-by-step guide to getting it right.
Understand the challenge: Why moisture is a problem
Moisture can move through materials and become trapped beneath the surface if the floor isn’t sealed correctly. In rooms with high humidity or frequent water use, this trapped moisture can cause swelling, rot, or mould growth. That’s why every layer of your floor system—from the subfloor to the surface finish—needs to be chosen and installed with care.
A properly treated floor in a wet area should:
- Prevent water from penetrating into the structure.
- Allow any residual moisture to evaporate safely.
- Be easy to clean and resistant to water and cleaning products.
Læs også:
Step 1: Choose the right materials
Start by selecting materials that are certified for wet-area use. This includes the subfloor, waterproofing system, adhesives, and the final floor covering.
- Subfloor: Concrete or cement-based boards are ideal because they resist moisture. Avoid particleboard or MDF, which can absorb water and swell.
- Waterproofing membrane: A continuous waterproof layer is essential. It should cover the entire floor and extend up the walls to form a watertight “tray.”
- Floor covering: Tiles, vinyl, and epoxy coatings are popular choices. If you prefer timber, choose a dense hardwood such as teak or kwila and ensure it’s properly sealed.
Step 2: Prepare the base and ensure proper slope
In wet areas, the floor must direct water toward the drain. For bathrooms, this means creating a slope of about 1–2 cm per metre toward the waste outlet. This prevents puddles from forming in corners.
Before applying any waterproofing, check that the surface is smooth, stable, and free of cracks. Any unevenness can compromise the waterproof layer and lead to leaks later on.
Step 3: Apply the waterproofing membrane correctly
The waterproofing membrane is the most critical part of the system. It can be a liquid-applied membrane, a sheet membrane, or a combination of both. Always follow the manufacturer’s instructions carefully.
- Make sure the surface is clean, dry, and dust-free.
- Apply the membrane in two coats using a roller or brush.
- Reinforce corners, joints, and around drains with sealing tape or fabric.
- Allow the membrane to cure completely before moving on.
A properly applied membrane is invisible once finished, but it’s what keeps your floor safe from water damage.
Step 4: Install the floor covering
Once the waterproofing is fully dry, you can lay the final floor surface. The installation method depends on the material you’ve chosen:
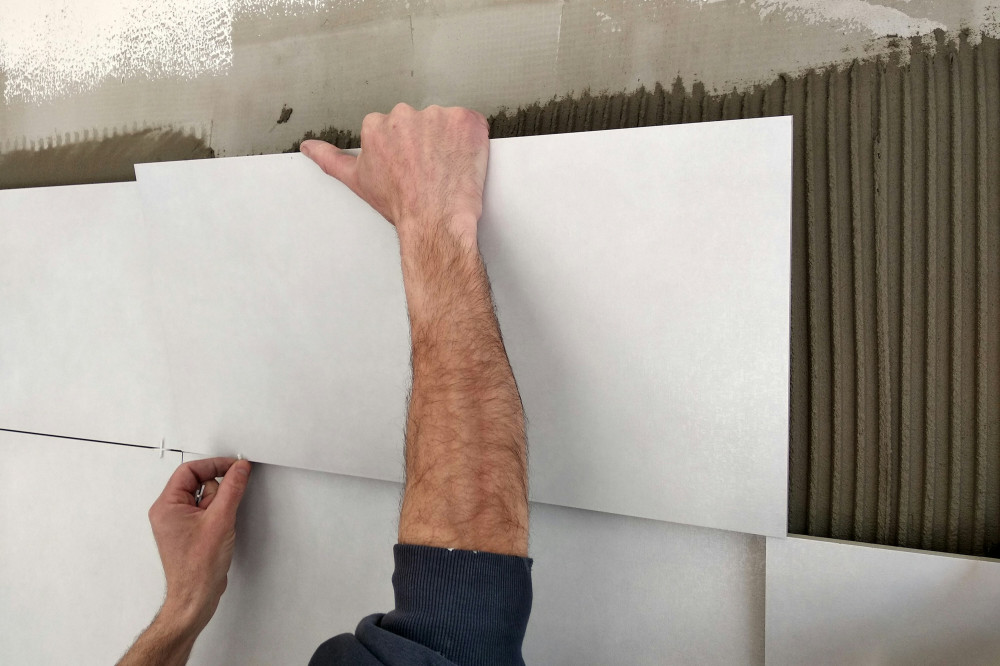
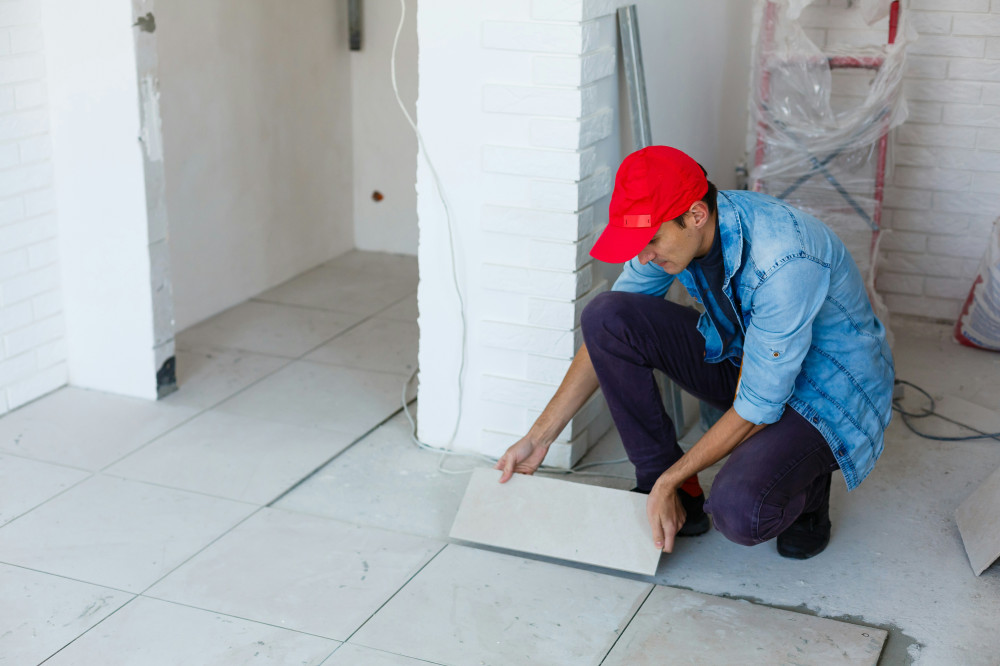
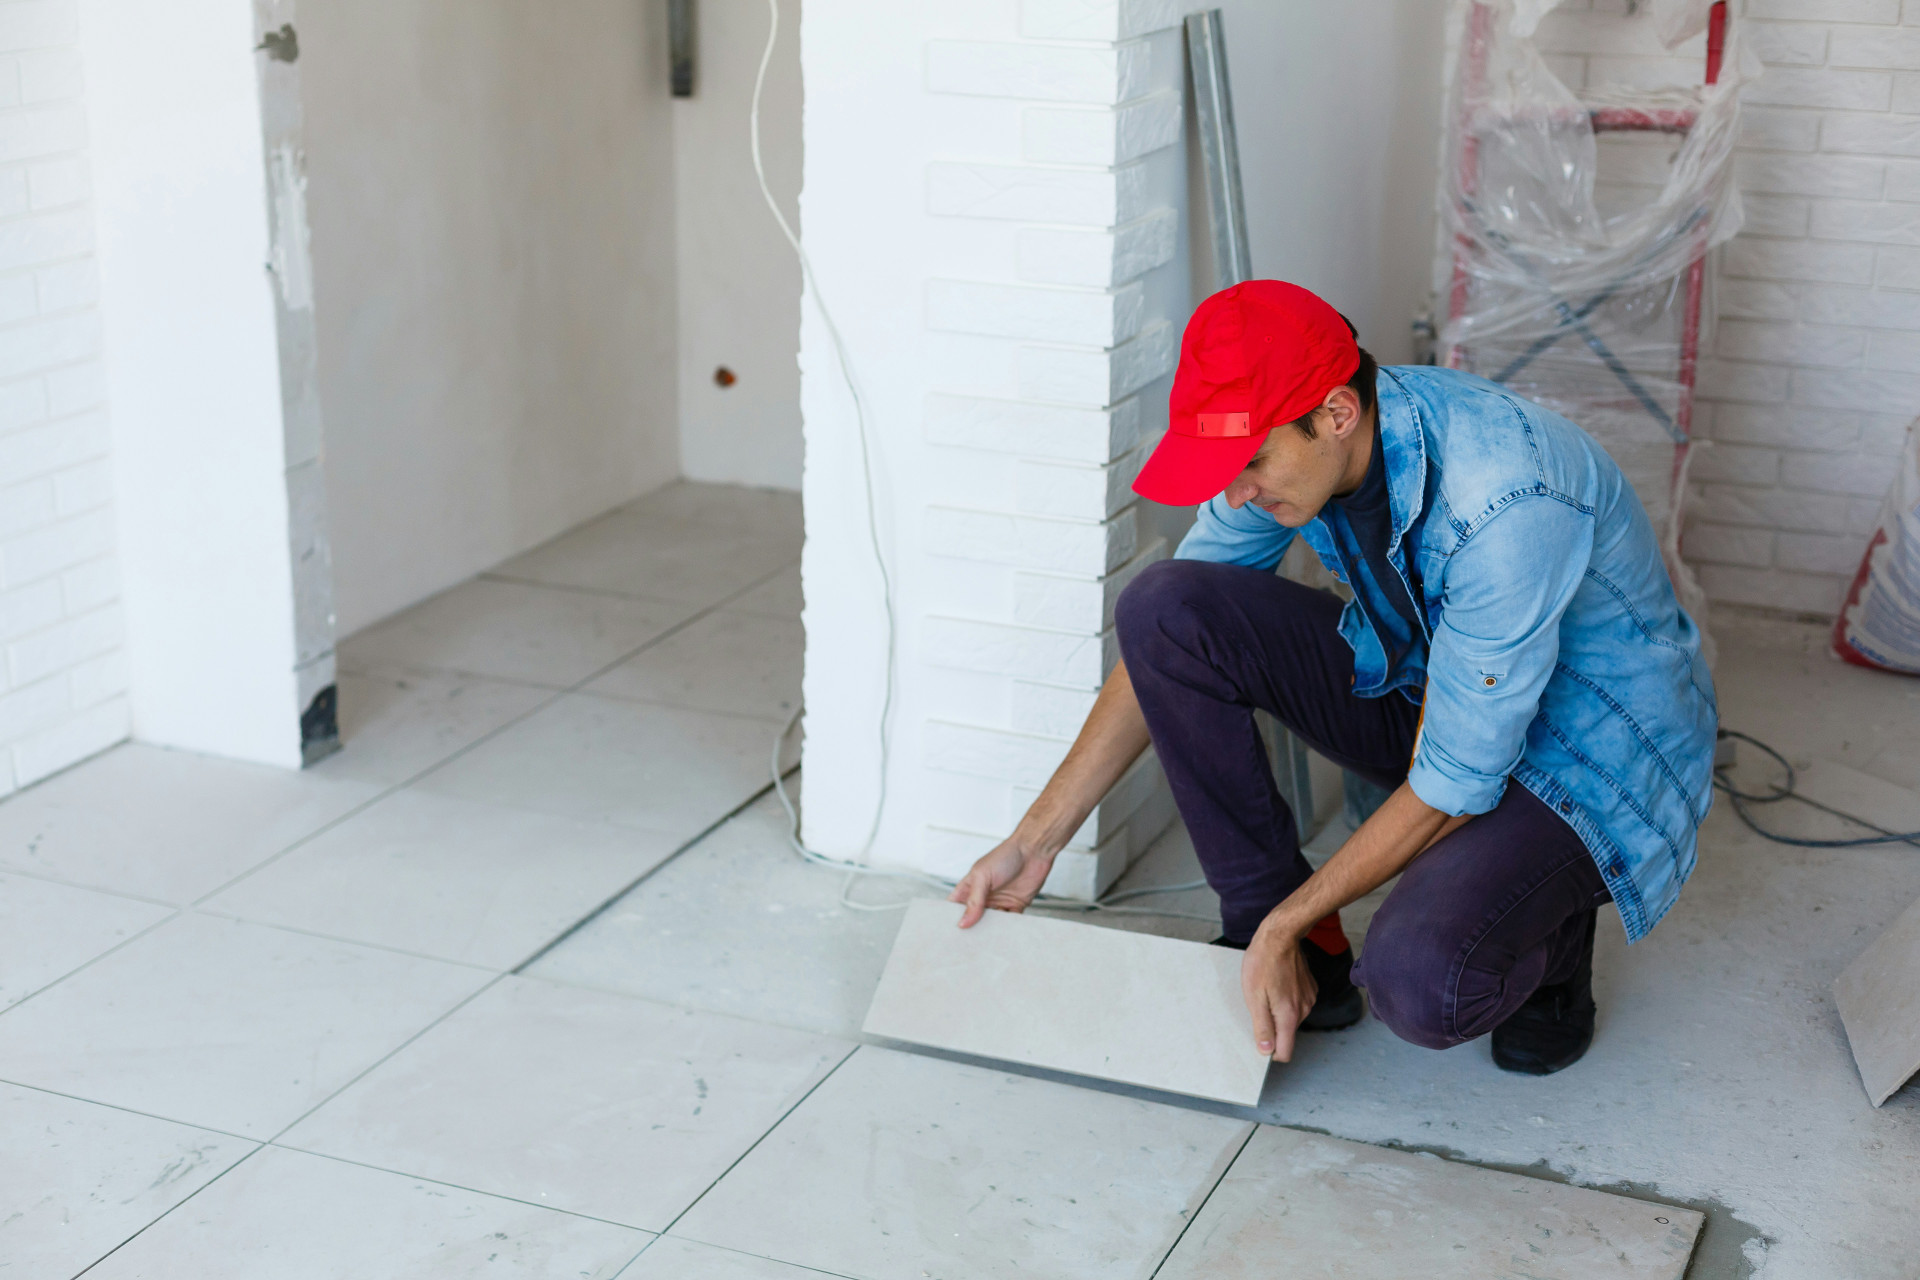
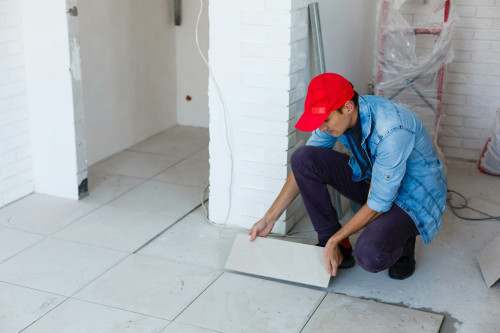
- Tiles: Use a flexible, waterproof tile adhesive and grout. Ensure all joints are sealed and even.
- Vinyl: Glue the vinyl across the entire surface and heat-weld the seams for a watertight finish.
- Epoxy: Apply as a liquid coating that cures into a seamless, highly durable surface.
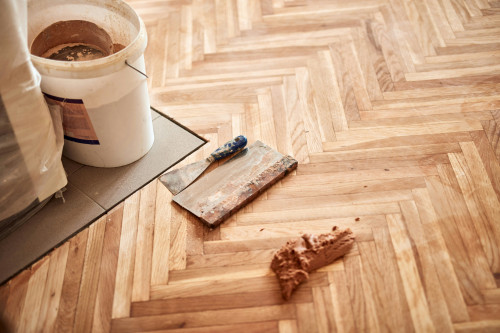
- Timber: Leave expansion gaps at the edges and finish with a moisture-resistant oil or polyurethane coating.
Step 5: Finish and maintain the surface
Even the best floor needs regular care. The surface treatment protects against wear and moisture but should be renewed periodically.
- Tiles: Clean grout lines regularly and apply a grout sealer if needed.
- Vinyl and epoxy: Wash with mild detergents—avoid abrasive cleaners or solvents.
- Timber: Reapply oil or varnish as required, and always wipe up spills immediately.
Routine maintenance not only keeps your floor looking good but also extends its lifespan and prevents costly repairs.
Step 6: Check the ventilation
No waterproof floor can handle moisture problems alone. Good ventilation is essential to keep humidity under control. Install an effective extractor fan or a humidity-sensing ventilation system to remove damp air and prevent condensation.
A floor that lasts for years
Wet areas demand more attention than dry rooms, but with the right materials, careful installation, and regular maintenance, you can achieve a floor that’s both beautiful and built to last. Follow these steps, invest in quality products, and pay attention to detail—you’ll enjoy a safe, durable, and stylish result that stands up to New Zealand’s unique climate.
Læs også: