Basement Insulation from the Outside: How to Prepare Excavation and Drainage Properly

Basement Insulation from the Outside: How to Prepare Excavation and Drainage Properly
A damp basement can quickly turn into a serious issue – not only for the structure of your home but also for indoor air quality. Many New Zealand homeowners choose to insulate basement walls from the outside to keep moisture and cold out of the masonry. But before you start installing insulation, it’s essential to prepare the excavation and drainage correctly. Here’s a practical guide to help you plan and carry out the work safely and effectively.
Why Insulate the Basement from the Outside?
External basement insulation is the most effective way to protect walls from moisture and temperature fluctuations. By placing insulation on the outside, you move the temperature difference away from the wall structure, reducing the risk of condensation and mould indoors. The result is a more stable indoor climate and lower heat loss.
However, this method requires digging down along the entire basement wall, which means careful planning, safety measures, and proper drainage are crucial.
Planning and Preparation
Before you start digging, make sure to check the following:
- Building consents and local regulations: In most cases, small-scale excavation around your foundation doesn’t require consent, but always check with your local council, especially if you live close to a boundary or public services.
- Underground services: Contact BeforeUdig (the New Zealand service for locating underground utilities) to identify any cables, pipes, or drains in the ground.
- Soil conditions: Clay, sandy, and mixed soils behave differently when it comes to drainage. If you’re unsure about your soil type, consider getting a geotechnical assessment to ensure you choose the right drainage setup.
- Safety: Never dig deeper than 1.2 metres without proper shoring or sloping of the excavation. Make sure the sides are stable and that no one works in unsafe conditions.
Good planning saves time and money – and helps prevent damage to your home.
Læs også:


How to Carry Out the Excavation
Excavate carefully and in sections of about 2–3 metres at a time to avoid exposing too much of the foundation at once. Dig down to the bottom of the foundation, and make sure the base of the trench is level.
Once the wall is exposed, clean it thoroughly of soil, old coatings, and loose plaster. Use a wire brush or a pressure washer, and allow the wall to dry completely. Repair any cracks or holes with cement mortar to create a smooth, watertight surface.
Proper Drainage Is Key
A well-designed drainage system is essential for effective basement insulation. It channels excess water away from the foundation and prevents moisture from seeping into the wall.
A typical drainage system includes:
- Drainpipe: Place a perforated drainpipe at the bottom of the trench, about 20–30 cm below the basement floor level. The pipe should have a slope of at least 2–3 mm per metre towards the outlet or sump.
- Drainage layer: Surround the pipe with coarse gravel (8–16 mm) to ensure good water flow.
- Filter fabric: Wrap a geotextile fabric around the gravel layer to prevent soil particles from clogging the pipe.
- Outlet: Ensure the drain discharges safely – either into a stormwater system, soak pit, or sump pump, depending on your site’s conditions and council requirements.
Always check that the drainpipe is correctly positioned before backfilling. A poorly installed drain can cause more problems than it solves.
Waterproofing and Insulation
Once the drainage is in place, waterproof the basement wall before installing insulation. Apply a bitumen- or polymer-based waterproof coating in two layers, making sure it extends all the way down to the foundation.
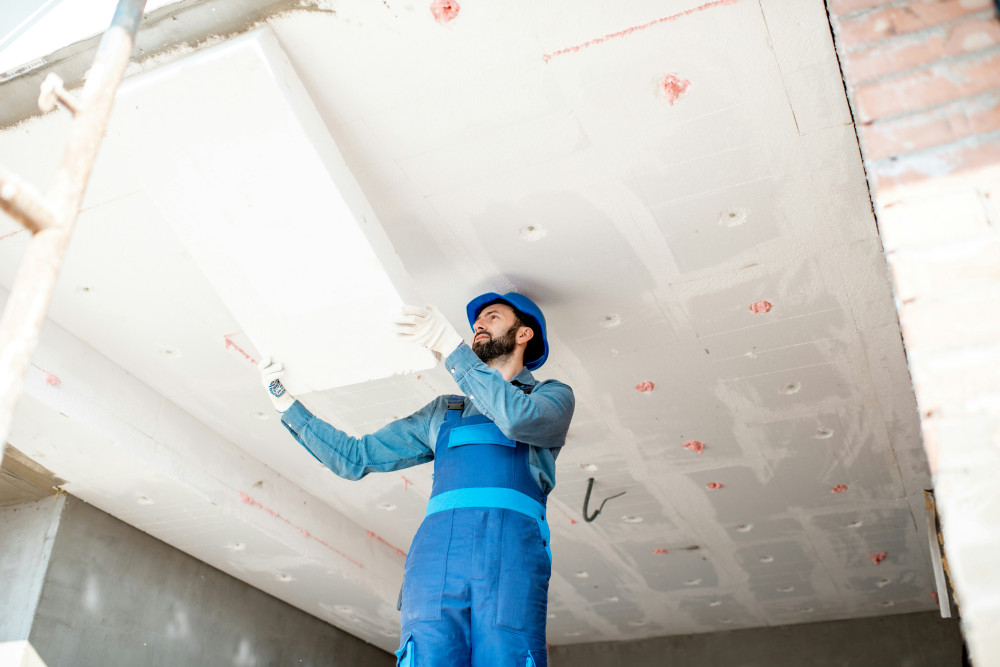
Next, install rigid, moisture-resistant insulation boards, such as extruded polystyrene (XPS), which can withstand both soil pressure and damp conditions. Fix the boards directly to the dry, treated wall, ensuring tight joints and full coverage.
Finish with a protective membrane or board to prevent damage to the insulation during backfilling. Use free-draining gravel to fill around the wall – avoid using clay or topsoil, which can trap moisture.
Finishing and Inspection
After backfilling, check that the ground around your home slopes away from the wall to direct rainwater away from the foundation. A slope of 1–2 cm per metre is usually sufficient.
It’s also a good idea to install an inspection point or access chamber so you can check the drain’s performance in the future.
Finally, you can restore paving, garden beds, or lawn – but avoid planting large shrubs or trees close to the wall, as roots can damage the drainage system.
Get Professional Help if You’re Unsure
While much of this work can be done by experienced DIYers, proper drainage and waterproofing require precision. If you’re uncertain about soil conditions, slope, or material choices, it’s worth consulting a qualified builder or waterproofing specialist familiar with New Zealand conditions.
A well-prepared excavation and drainage system will keep your basement dry and healthy for years to come – and ensure you get the full benefit of your investment in insulation.
Læs også: